
Tips for matching Seams and Perfect Points
In this tutorial I’m going to share my process for achieving matching seams and perfect points! If you already have something that works for you, then go with what you know. But if you are new to quilting or would like to know more, then read on.
When I was learning to quilt, one of my main frustrations was getting my seams to line up and not cutting the points off. More often than not I was reaching for the seam ripper! I just wasn’t able to consistently get my seams to line up and not cut off those points. So, I set off on a quest to discover how I could achieve matching seams and perfect points.
Tips for matching seams & Perfect Points
It might not seem like much, but these things were the key to my success!
Accuracy in cutting the individual pieces will make it so much easier when you later have to match and pin your blocks together. For accurate cutting use a self-healing cutting mat, rotary cutting and quilters’ ruler. See my favourite quilting tools for more details.

Pin more, seam rip less! You might not like to hear it, but pinning is going to be the best thing you can do. Not just ordinary pins, but fork pins. Fork pins were a game changer for me and have made me a less frustrated quilter. I love fork pins so much that I’ve written an entire blog about how to use them and you can even buy them from my shop.

Use your fabric marker to mark points: My eyesight isn’t what it used to be and the contrast between a white cotton thread and fabric is hard to see. Or you might have a seam pressed to the side which hides the point. To make it easier for me to see where I should be sewing near a point, I make a mark on the fabric with a fabric marker. It’s simple and as long as I’m hitting that mark, then I know that my points will not be cut off.

Accurate and consistent seams: If you do not sew a consistent 1/4 inch seam, it makes it may make it harder to match seams. Ensure your seams are consistent in width or taper at the start and end of your sewing. For best results, use a 1/4 inch sewing machine foot with a guide.

Use a scant 1/4 inch: If you’ve never heard this term, in quilting this requires you to sew just under 1/4 inch, which is typically a thread or two within your normal 1/4 inch seam. I often find that sewing a normal 1/4 inch will cut off the point, so in this situation I would sew a scant 1/4 inch seam near my point, using my marked line as my guide. Then continue on with a normal 1/4 inch seam. This works as there’s usually a little bit of bulk where the seams meet near the point.

For a 1/4 inch seam, fabric rests against the edge of the 1/4 inch sewing machine foot.

For a scant 1/4 inch seam, there will typically be a thread or two within your normal 1/4 inch seam.
We strive for perfection, but sometimes near enough is good enough: We are our own worst critics, so be kind to yourself. Learn to recognise and accept those small imperfections. Quilting is about enjoying the process and is often a type of therapy for many people wanting to unwind or retreat from difficulties in their life.
Consider the following before reaching for the seam ripper:
Stand back and look objectively at your piecing. Ask yourself, is it really worth unpicking? Does it really look that bad? Even after seam ripping and sewing again, sometimes I still can’t get the seams to match.
Get a second opinion, or just put it aside and come back with fresh eyes. Quite often after taking a break from piecing I’ll decide that it really isn’t that bad after all!
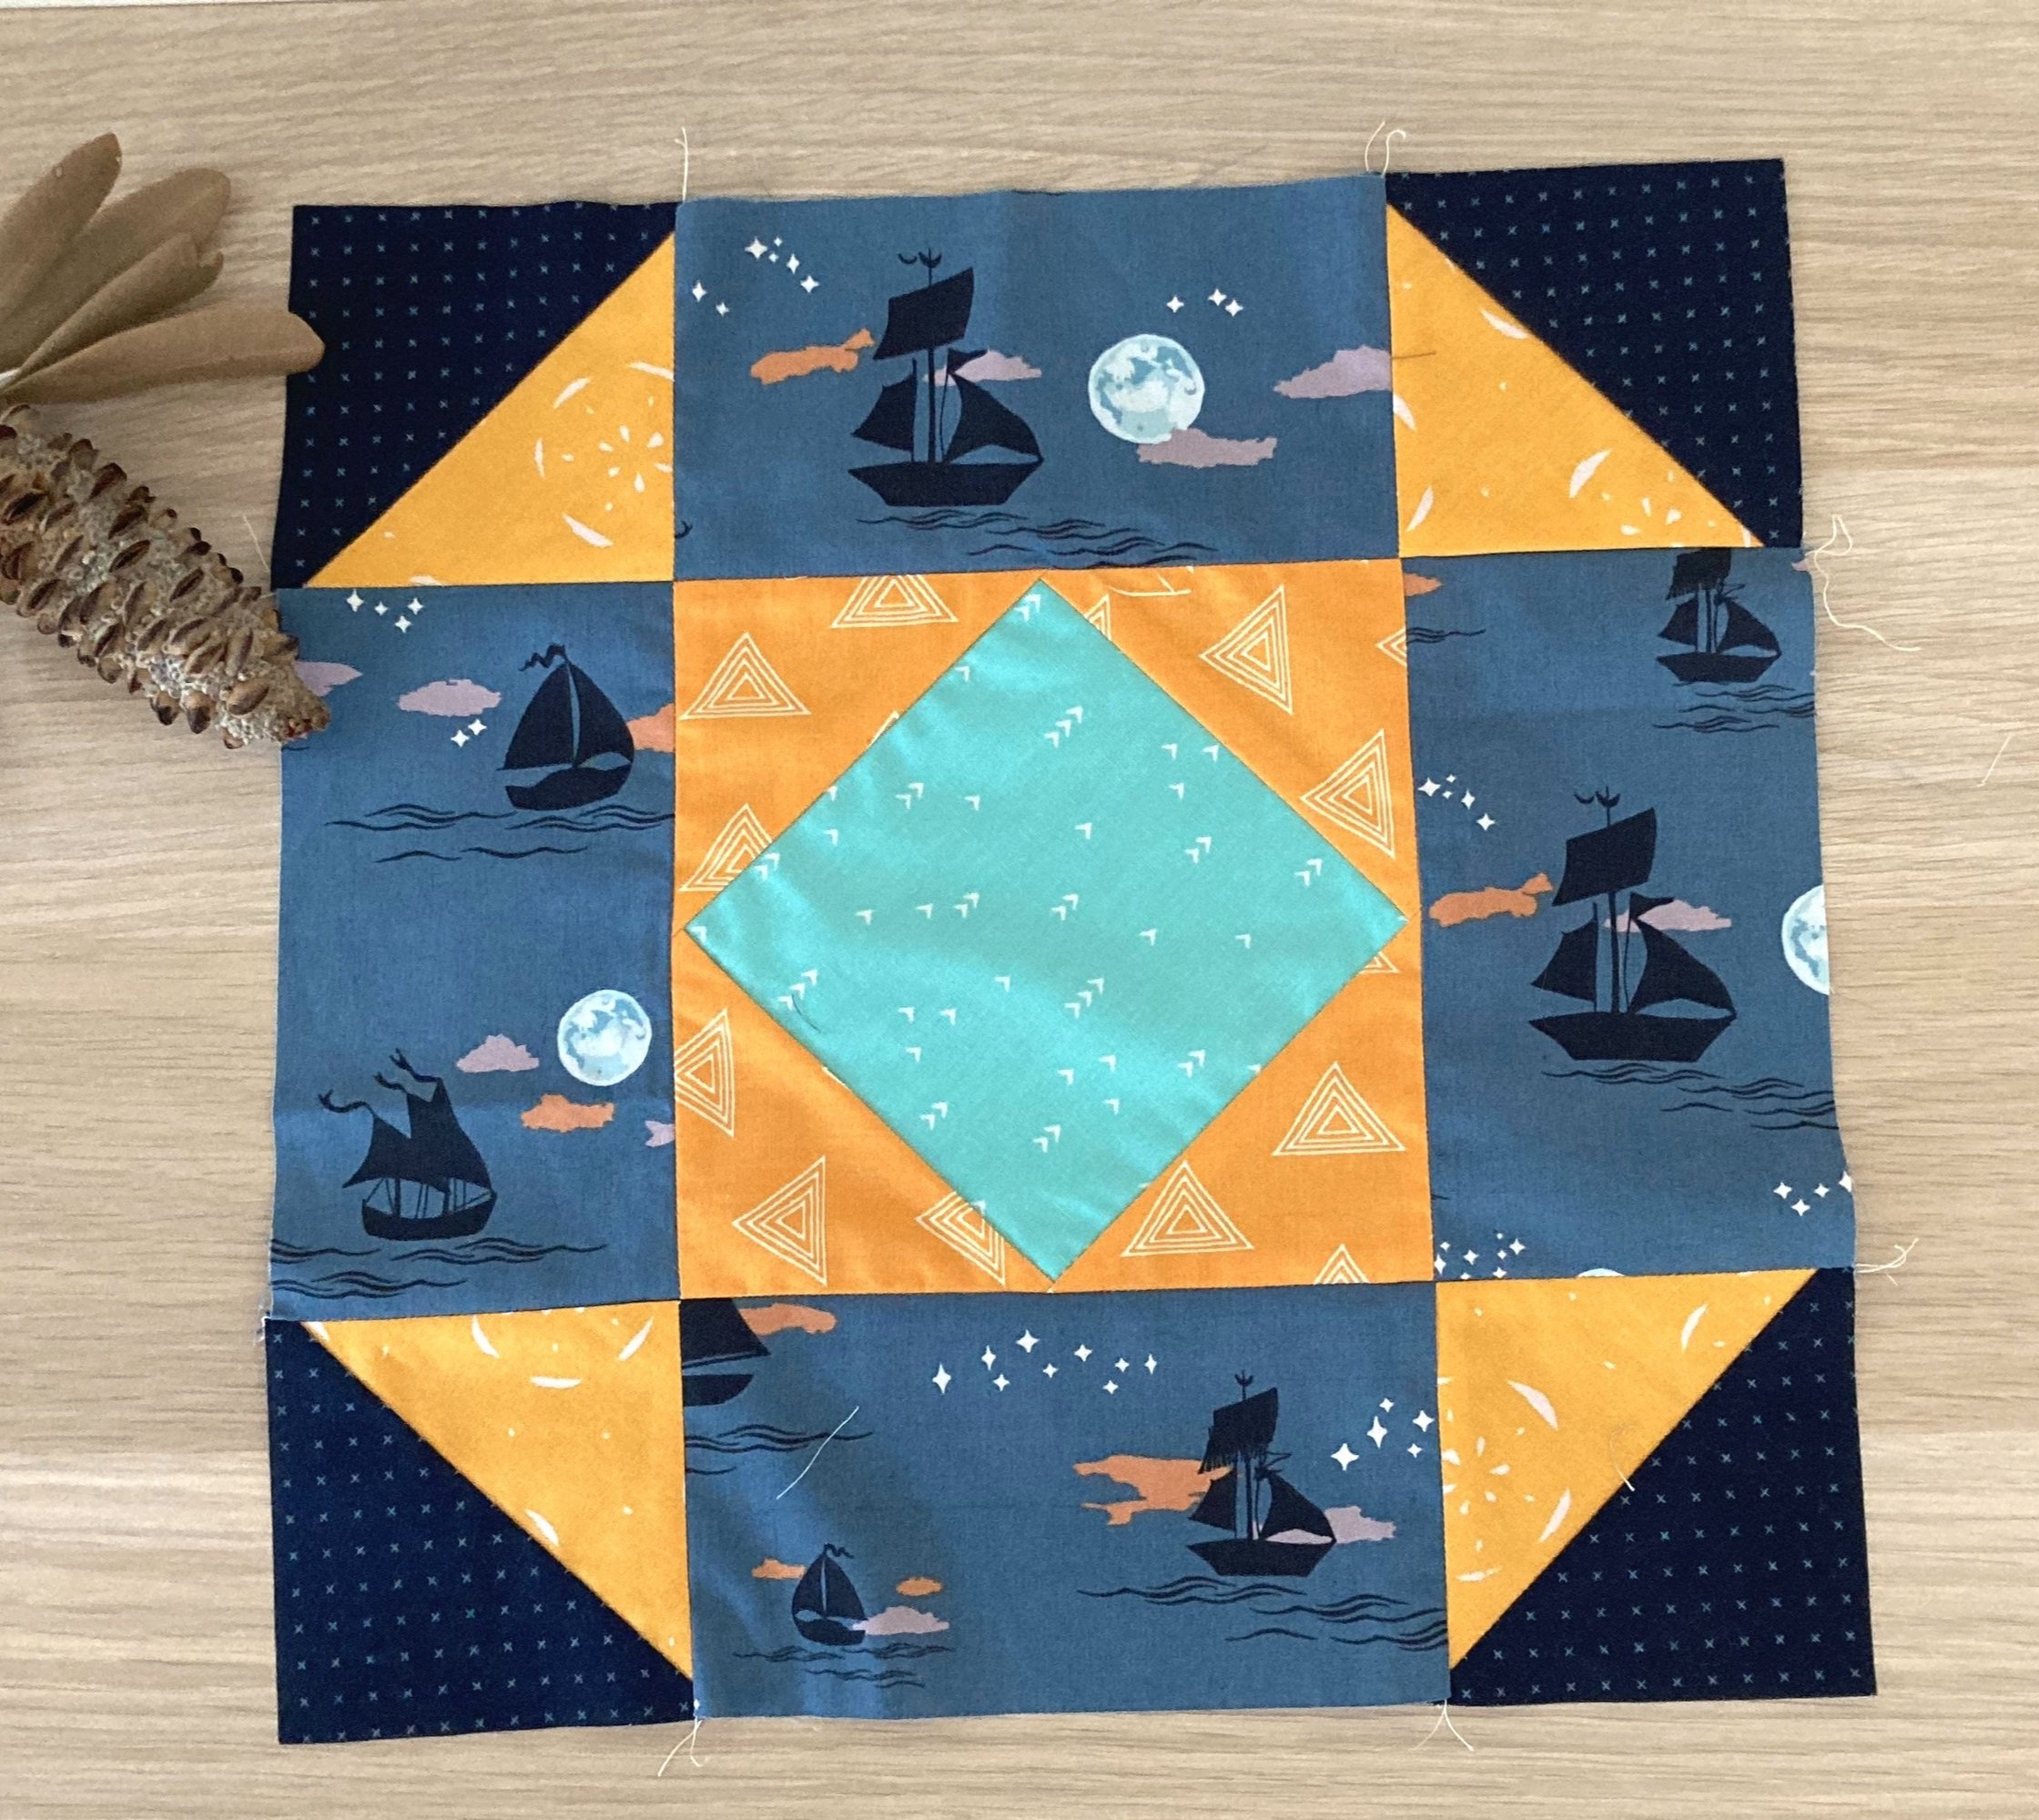
A few examples when I decided near enough was good enough! Zooming in exaggerates the misalignment and points being cut off. But when I looked at them objectively and got a second opinion, I decided that they were good enough.

Even after carefully pinning, sometimes you will get a misaligned seam.

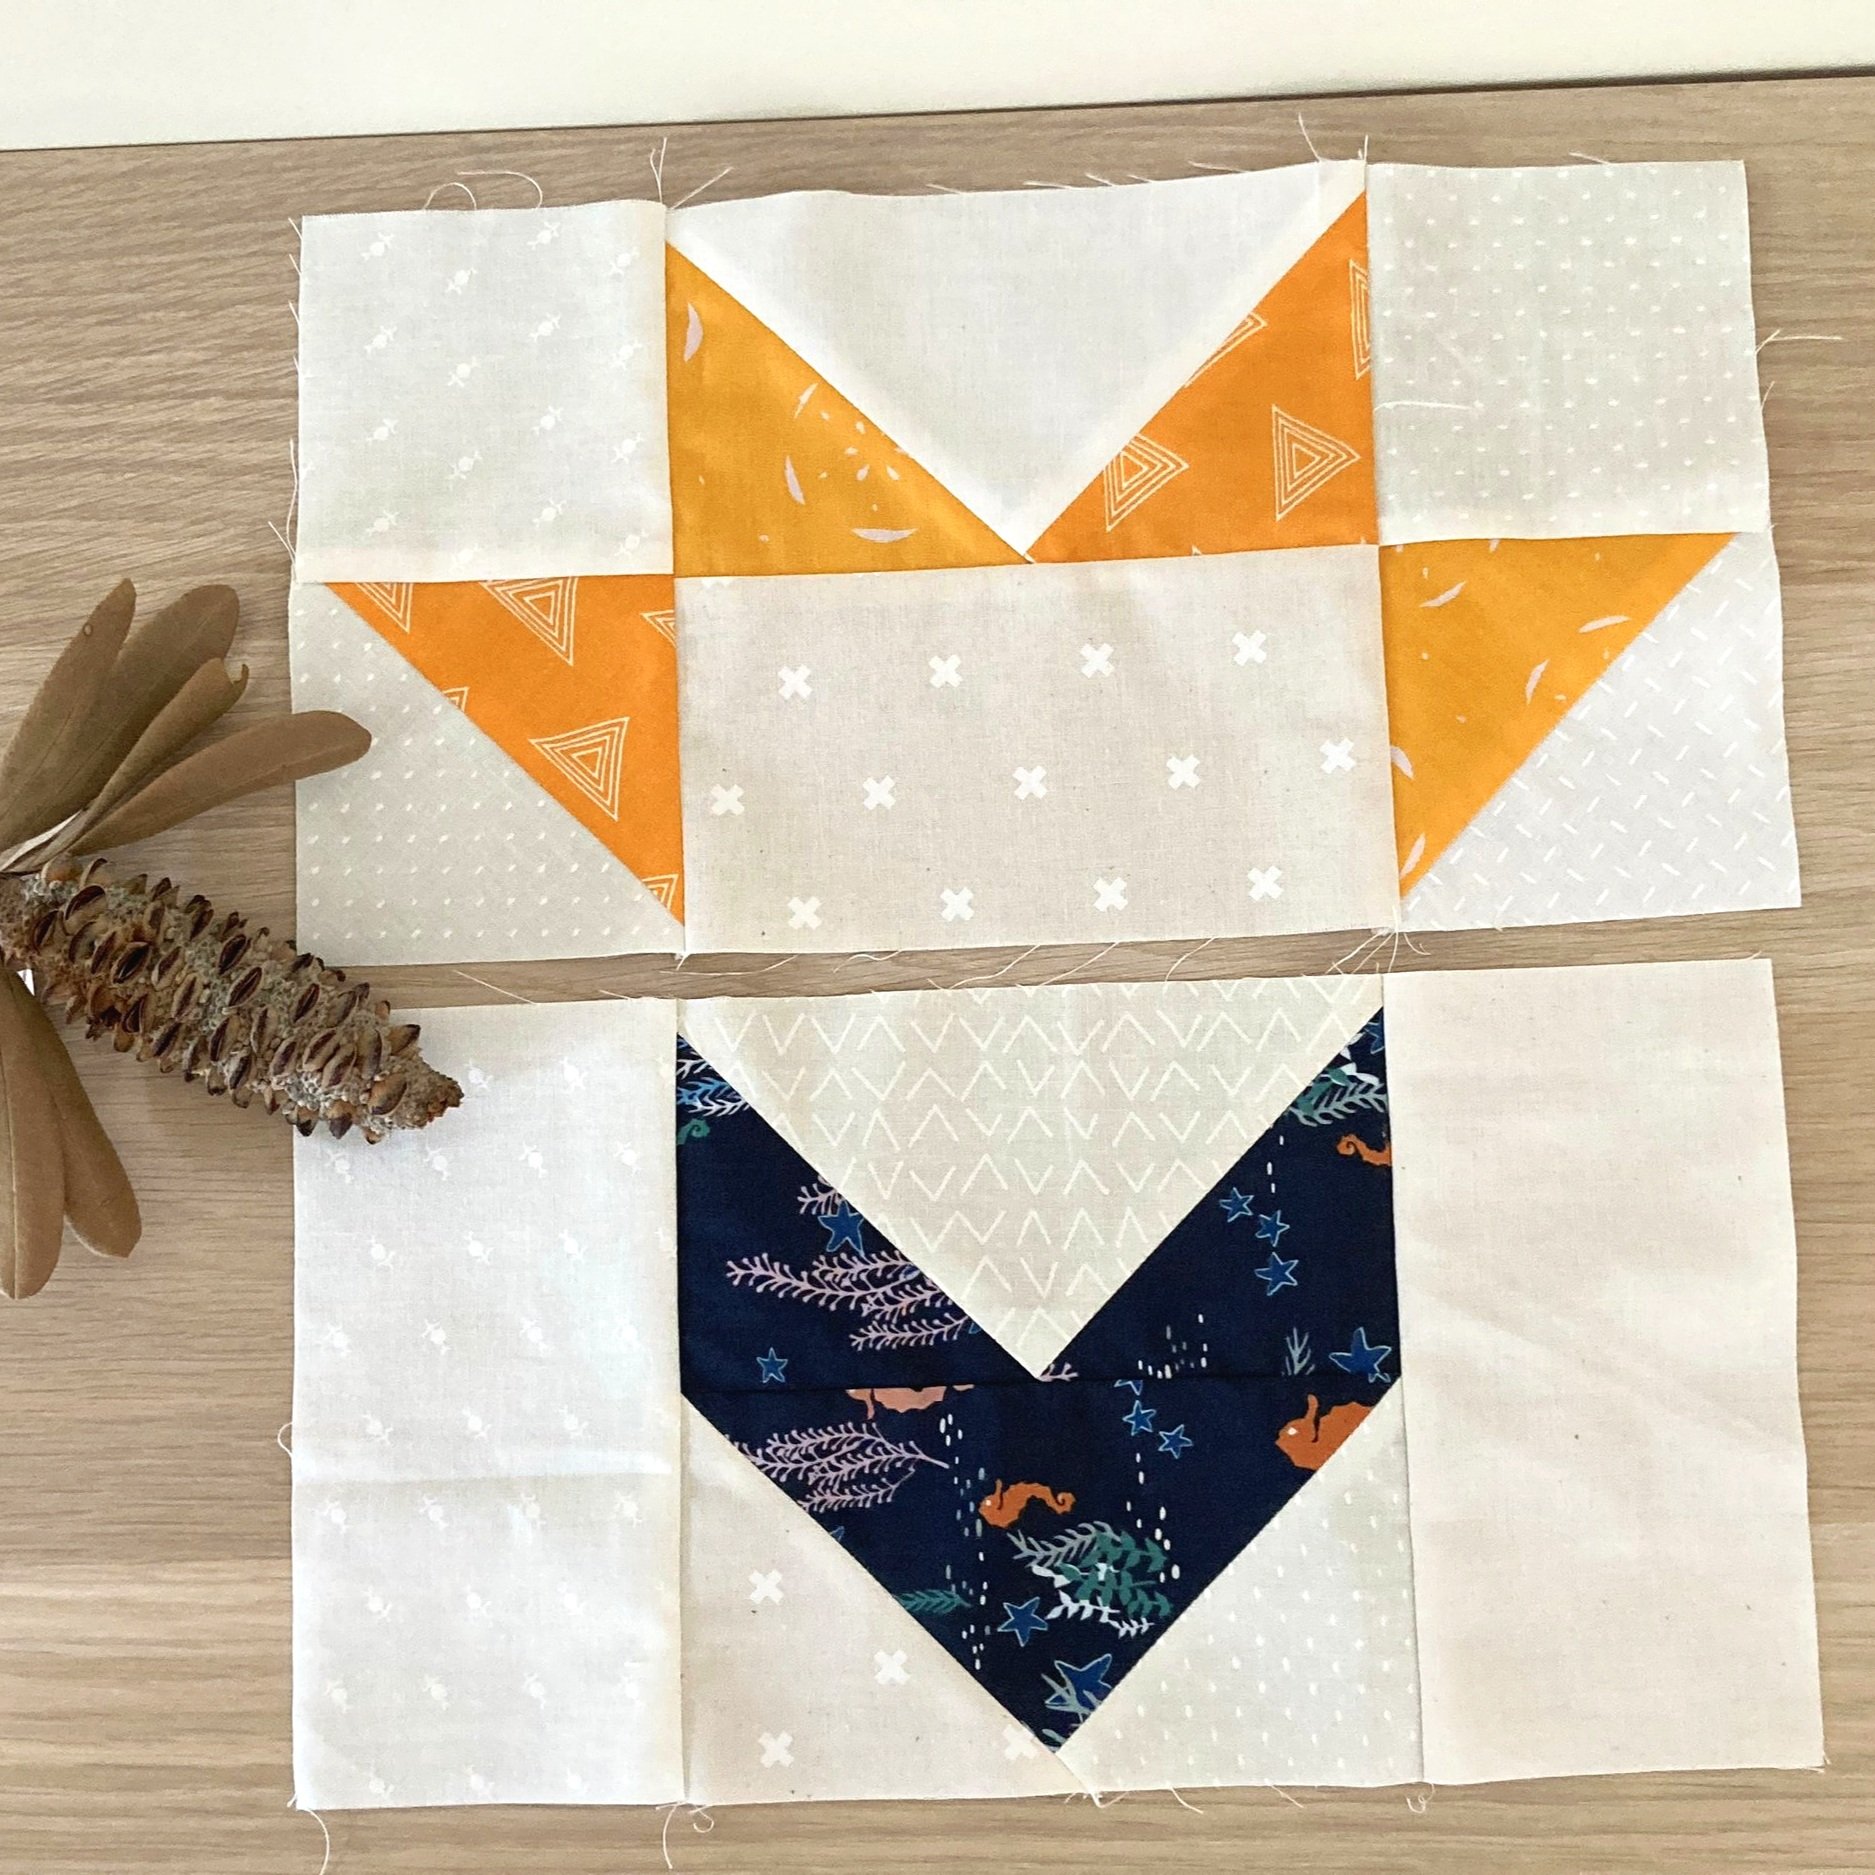
Another example of a misaligned seam. But when standing back I decided it was near enough!

This does look bad! I decided as this point was at the bottom of the block (and not the cactus points) I could live with it.
In this case I decided to use the seam ripper and sew again. Yet I still couldn't get these intersecting seams to match!
How to match your seams.
How you press your seams, be it to the side or open, will determine the way you need to match your seams. When pressing seams, refer to the quilt pattern for guidance. Read on and discover how to match your seams.
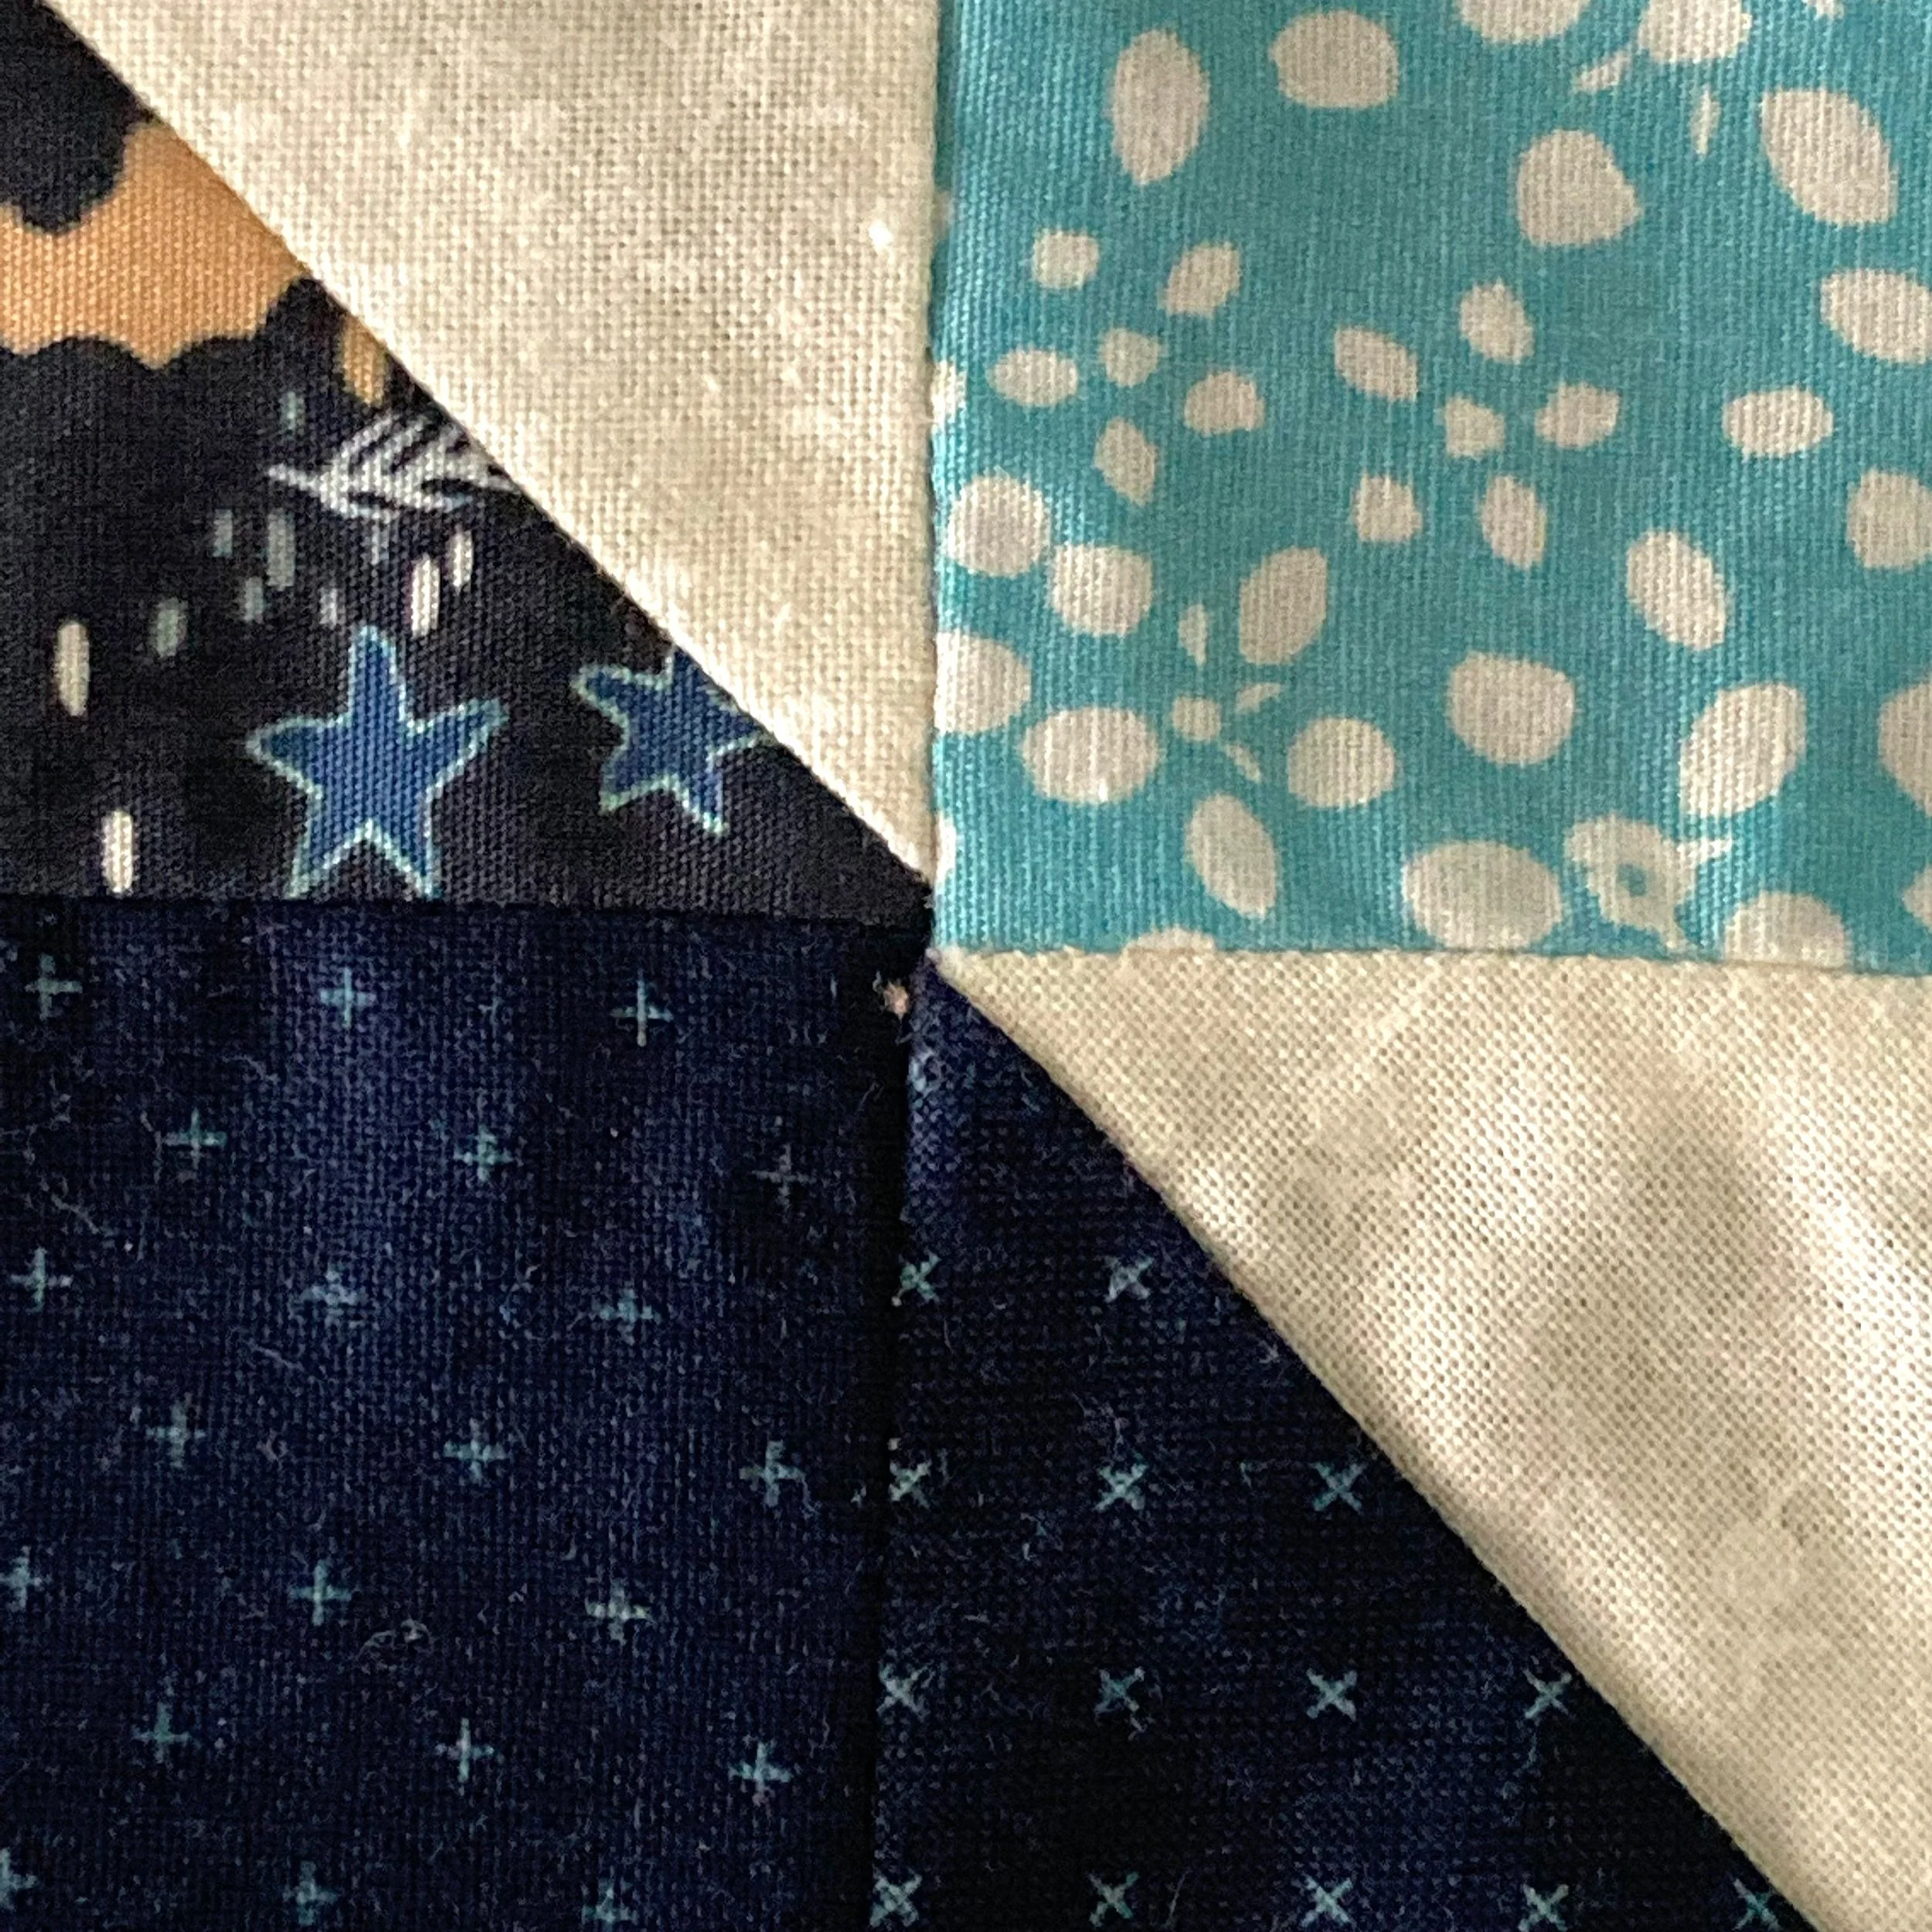
1. Nesting Seams.
What is a nesting seam? When your seams are pressed in opposite directions and you place your blocks on top of each other, the seams will nest. This means that the seams should align perfectly and fit into each other like puzzle pieces. You can feel a seam is nesting when the seams bump up against each other.
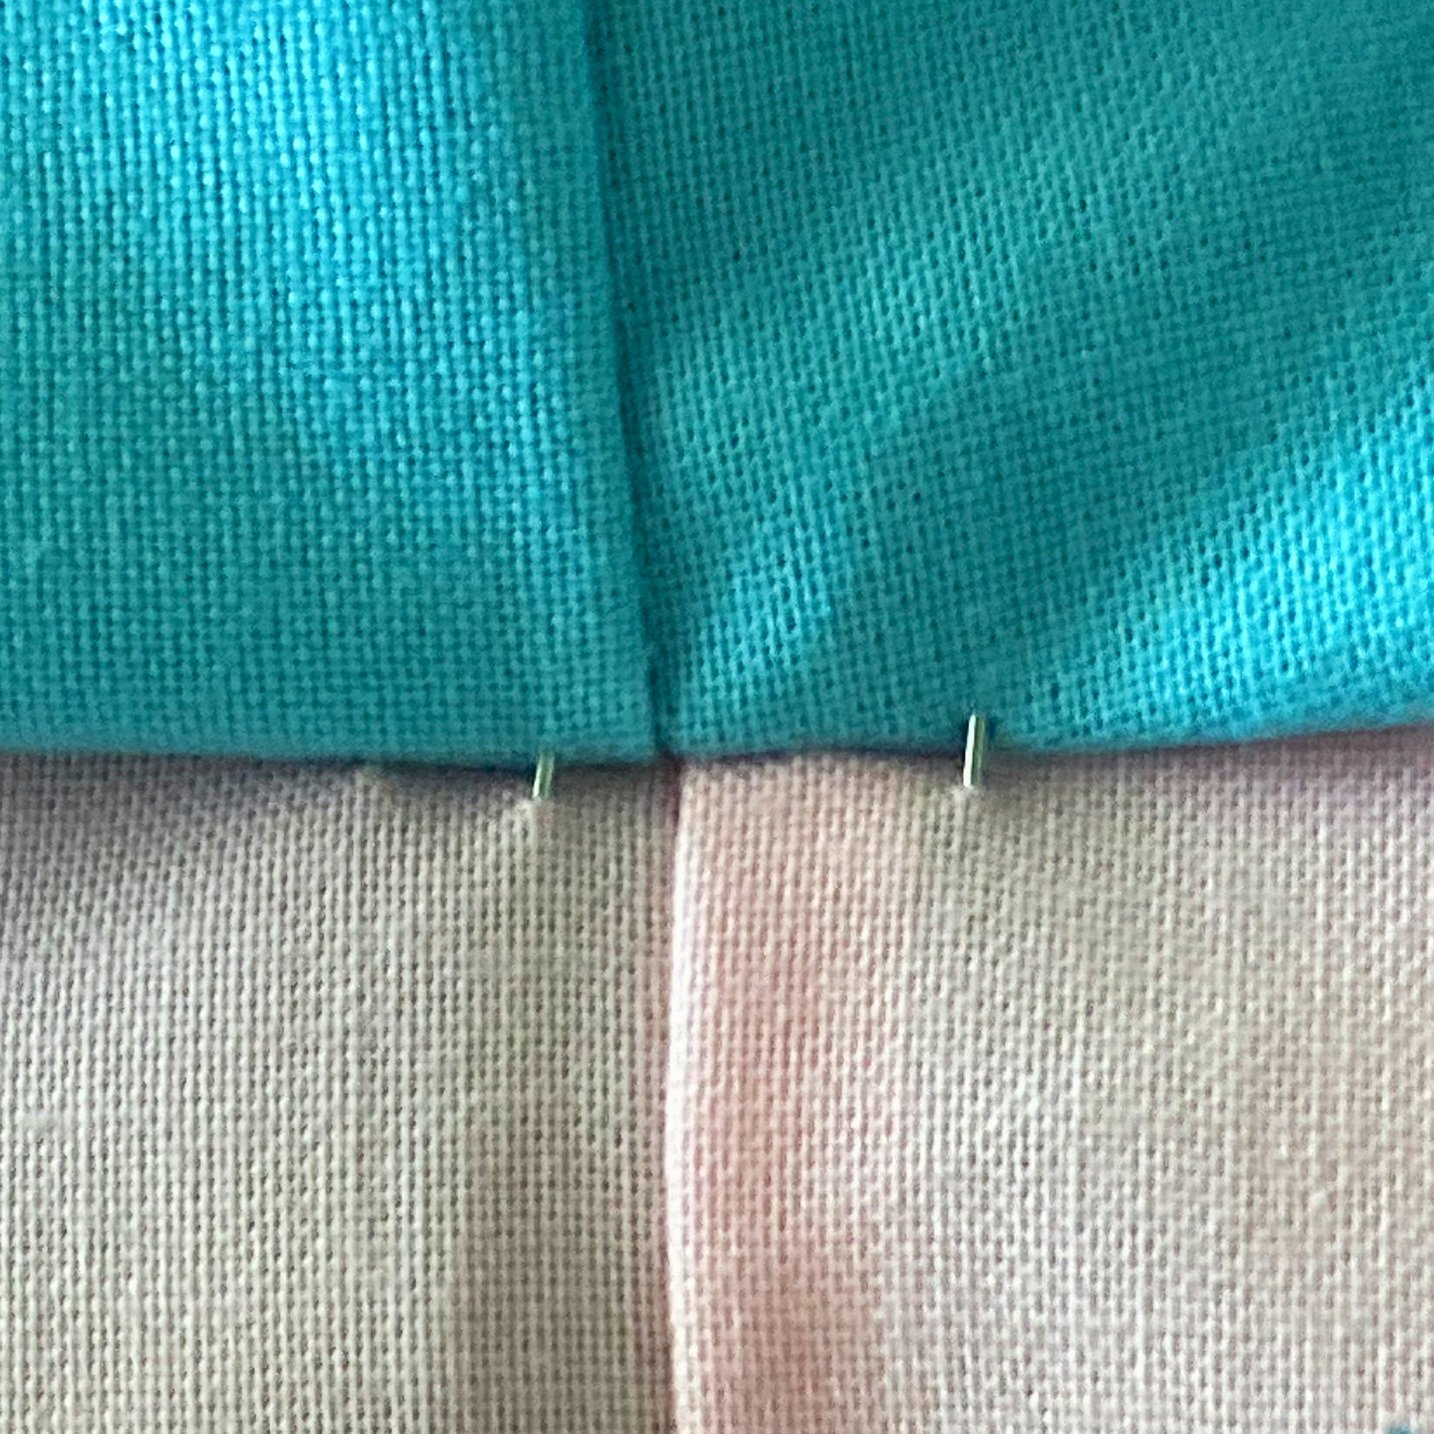
Nesting your seams.

Press your top and bottom seams in opposite directions, allowing the seams to nest.

2. Pin nested seams if desired.
I prefer to pin my nested seams in place using fork pins, but some quilters will not pin at all. Refer to my blog Match Seams Perfectly with Fork Pins for guidance on pinning and sewing with fork pins.
3. Check each seam is aligned correctly from the right side before sewing.
Tip: Sometimes you may get a seam that doesn’t nest well and you may need to match the seams using a pin.

After piecing and pressing, your nesting seams will look like this.
2. Open Seams.
While nesting seams works well in many instances, there are times when pressing your seams open will work better or some quilters prefer to press their seams open. For instance, when writing my Cosmic Cactus quilt pattern I decided that pressing seams open would reduce bulk where a number of seams met in some places.
Matching your open seams.

Place the pin through the seams.

2. Close the gap between the pins.
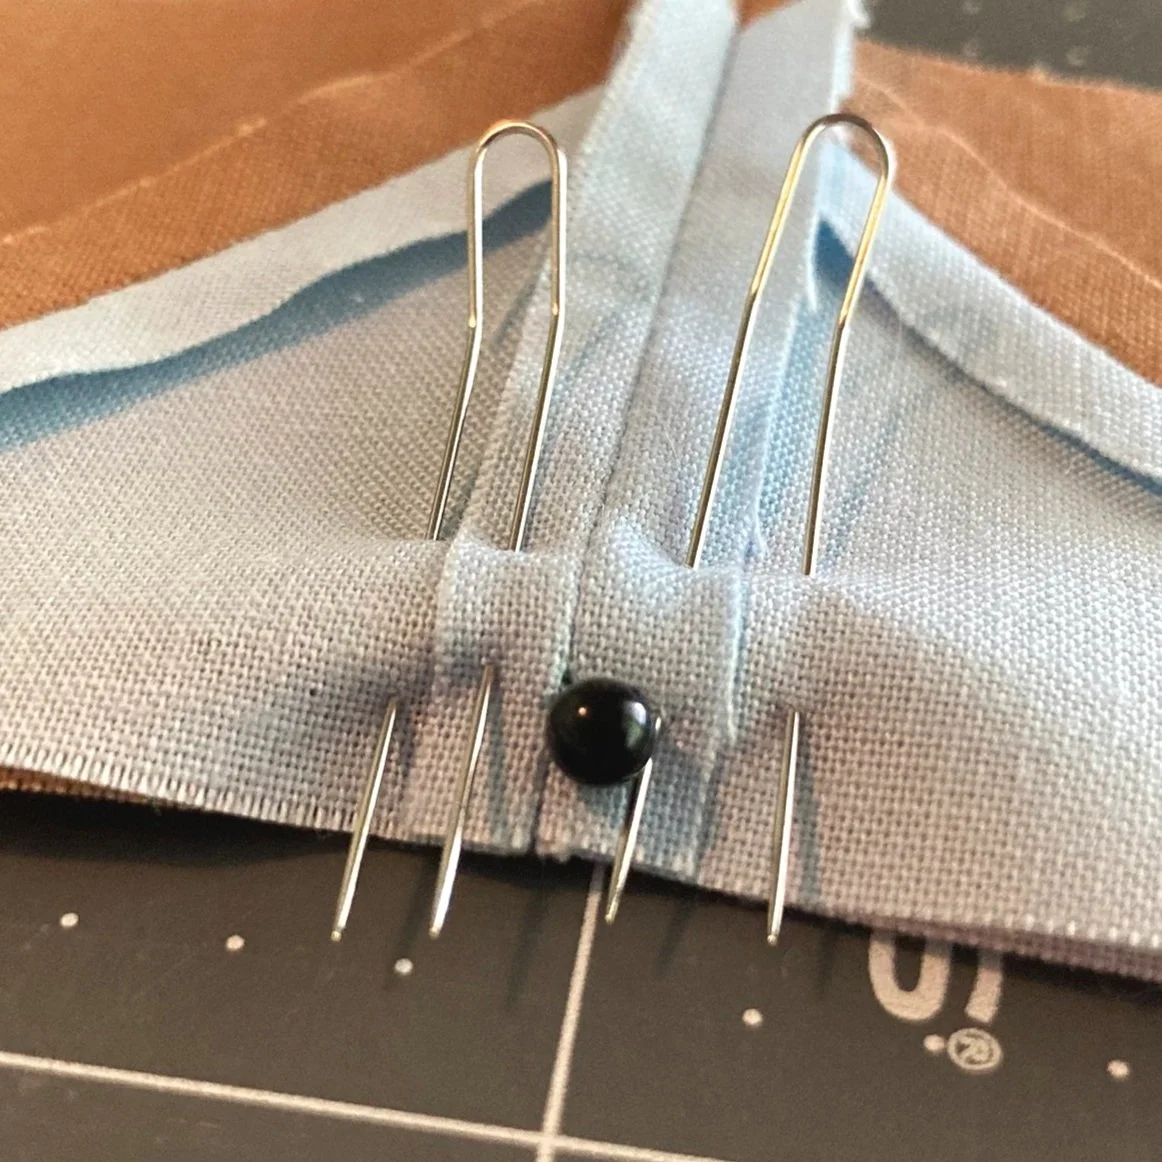
3. Use your fork pins to secure in place and remove the glass head pin. Refer to my blog Match Seams Perfectly with Fork Pins for guidance on pinning and sewing with fork pins.

Apply the same method for matching half-square triangles angled corner seams.
How to achieve perfect points.
Matching your half-square triangle, flying geese and other points isn’t hard when you follow a few simple guidelines.
How to match a point.

1. Place a pin through the point.

2. Mark this point!
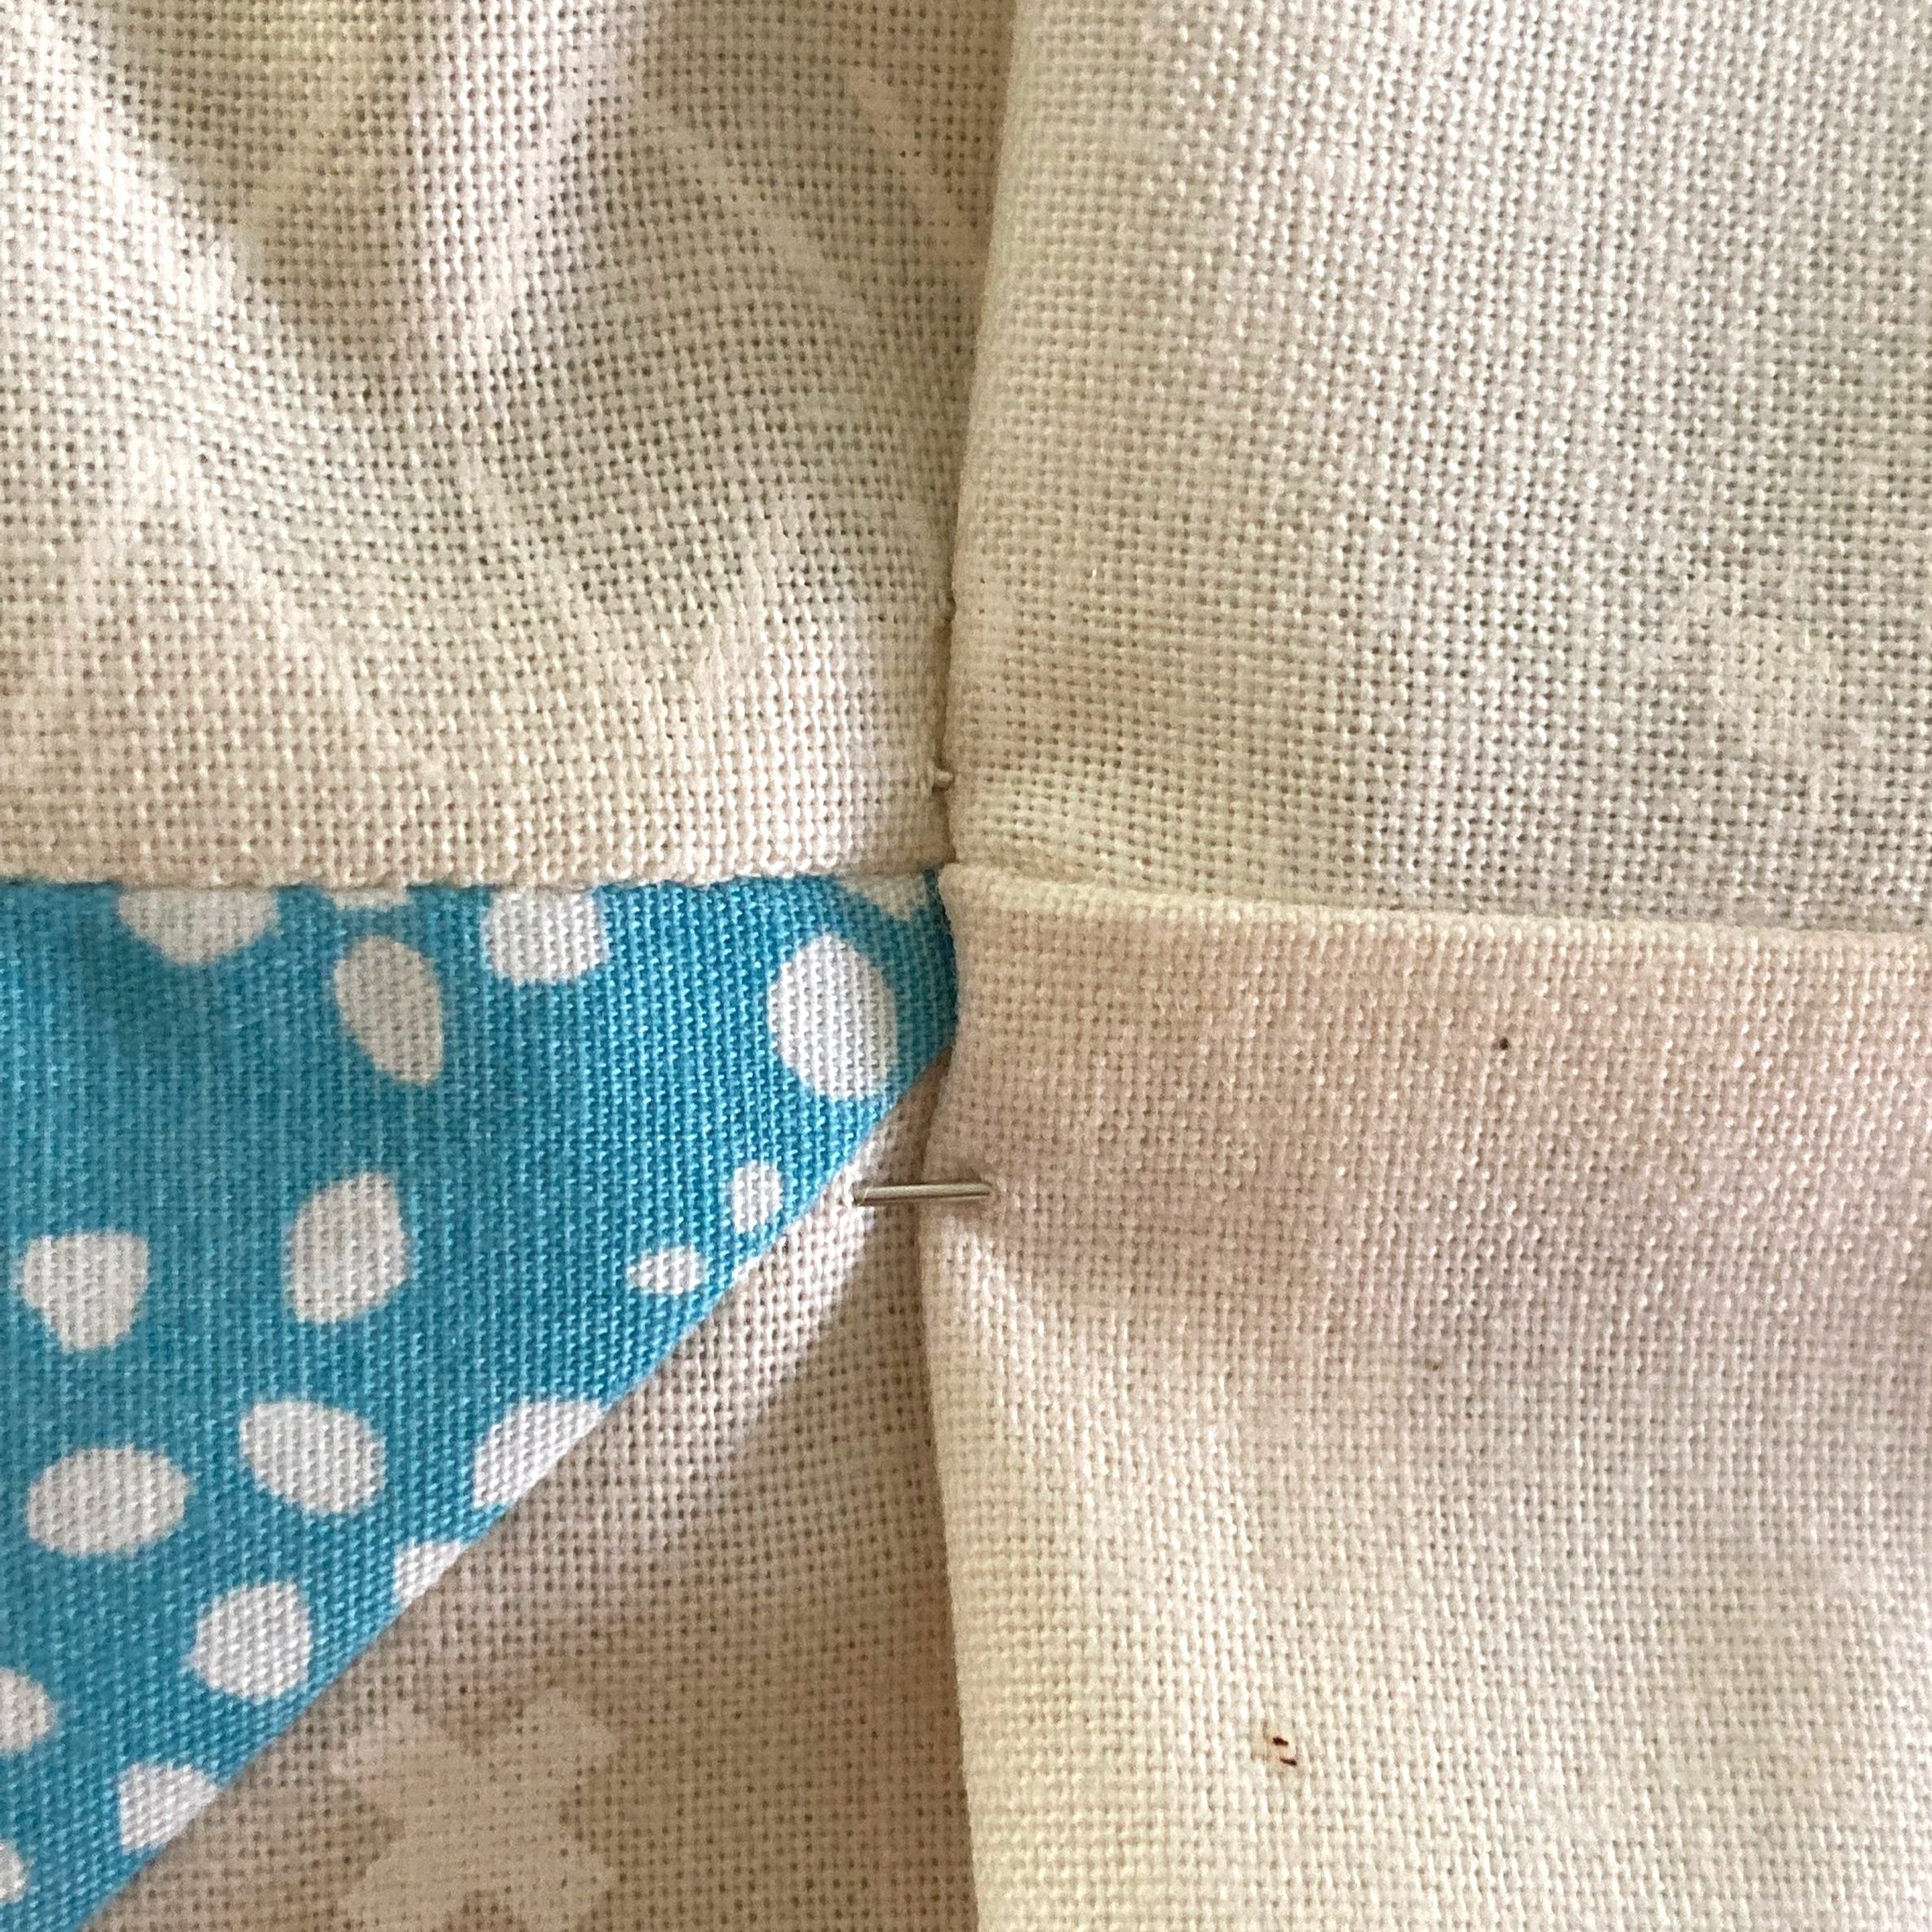
From the wrong side, mark your half-square triangle point where the pin goes through. By doing this you can see the intersecting stitching lines much better when sewing!

3. Place the pin through the seam.
If you are matching with another point, then place the pin through the tip of the point.

4. Close the gap between the pins.
Use your fork pins to secure in place.
5. Check seam from the right side to double check you are happy with the seam alignment.

6. Tips for sewing.
Leave your fork pins in when sewing near your point following the directions outlined in Steps 3 & 4: Match Seams Perfectly with Fork Pins.
When sewing you may need to sew a scant 1/4 inch* near your half-square triangle points.
*What is a scant 1/4 inch seam? Requires you to sew just under 1/4 inch, which is typically a thread or two within your normal 1/4 inch seam. Discover how to sew a scant 1/4 inch seam with our tutorial outlining everything you need to know.
What works for you? Please share in the comments below you tips for matching seams and achieving perfect points.