
Make A Scrappy Binding Tutorial
Disclosure: This blog post contains some affiliate links, which means if you make a purchase through these links, we may receive a small commission at no extra cost to you. All of the product opinions and suggestions are unbiased. As an Amazon Associate I earn from qualifying purchases. This is one of the ways I’m able to support myself and continue writing free content.
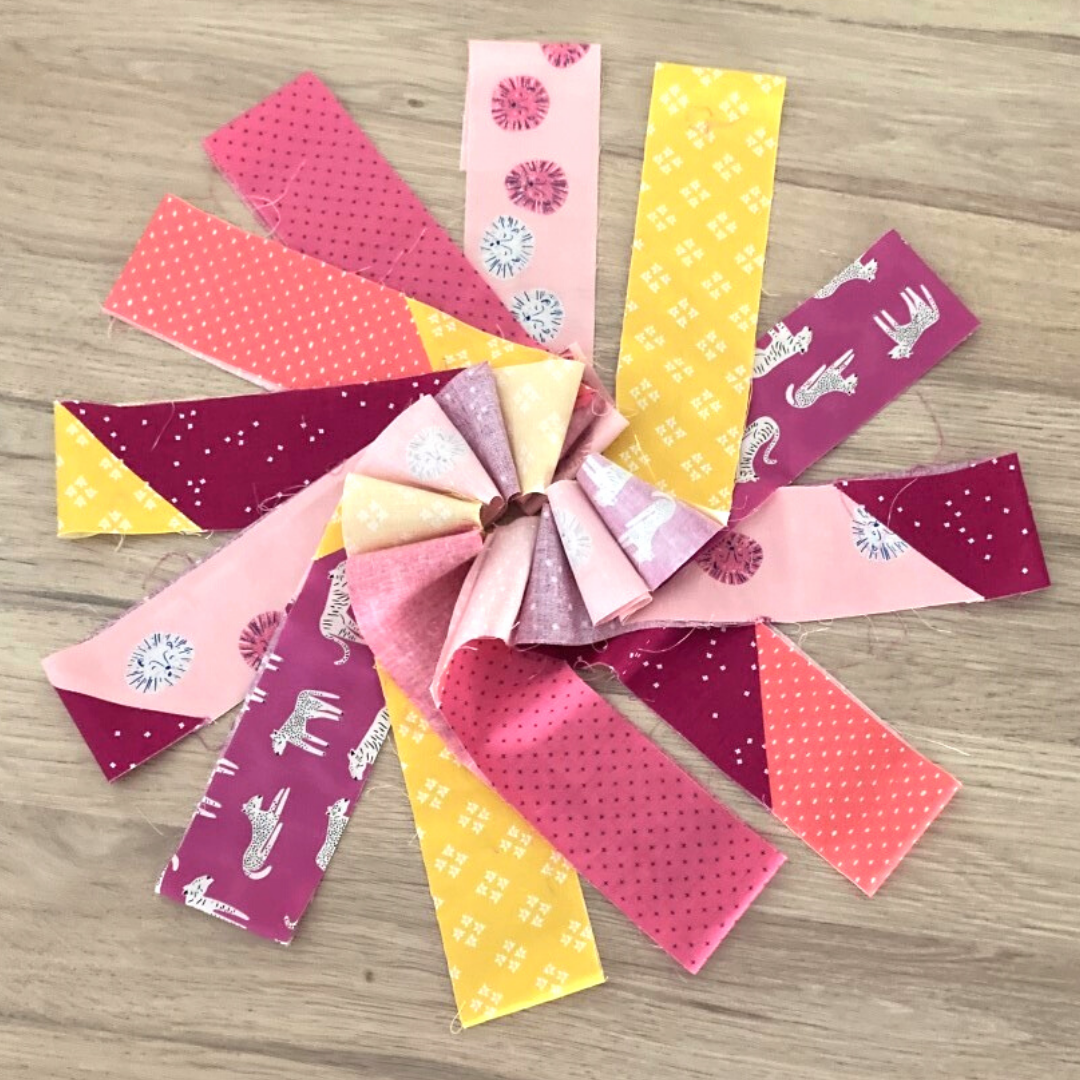
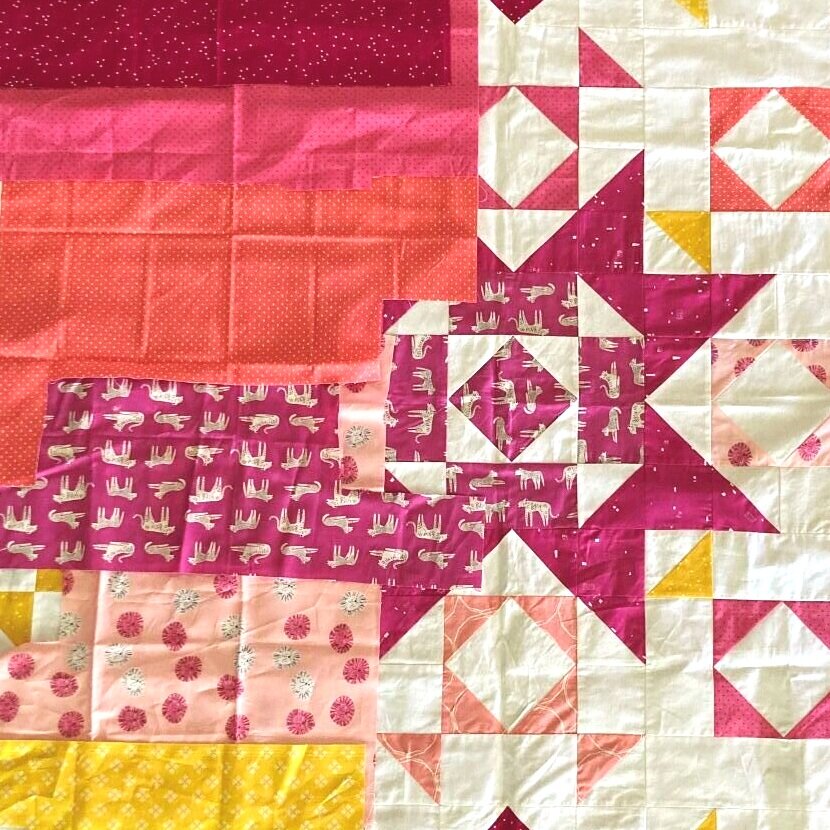
As quilters we accumulate so many leftover pieces of fabric from our various quilting projects.
We’re all guilty! Like many of you, I wonder how I can ever use them all!
Well, here’s a solution - make a scrappy binding!

A scrappy binding allows you to:
Use those fabric leftovers.
Create a unique and beautiful binding.
Before we get started! Please note this article doesn’t include any instructions for attaching the binding to the quilt sandwich. The instructions outlined here are a general guideline for making the binding only. You can apply this method to suit your own binding requirements, whether it be a machine or hand pieced binding.

Step-by-step guide:
Read through all the instructions or skip ahead using these links:
1. Audition Your Scraps
It’s entirely up to you how scrappy you go, but just remember the smaller the size of the fabric, the more strips you are going to have to cut and join together.
Before you cut into any fabric there are a few things to consider. Please read on.
Size:
Set a minimum WOF (width of fabric) when auditioning your fabric, keeping in mind the direction of the grain. For instance, I decided to set a minimum length of 10” for my strips. This will allow me to easily have room to sew a diagonal seam.
Shorter strips mean more strips need to be sewn together, so I would suggest not going too small especially if you’re binding a large quilt. Smaller strips may suit a small quilt project. Going too small with your strips may not allow enough room for a diagonal seam.
You can make your strip lengths random, using the entire width of your random leftover bits of fabric. Or if you prefer you can make the strips the same length.
Colour:
Choose fabric scraps from the quilt you’re making i.e. the colours will match.
Choose any fabric scraps that colour match your quilt i.e. raid that big pile of leftovers!
Go Improv! Go for a totally scrappy look, then have some fun and make it up as you go along.
Diagonal Seams:
Sewing seams on the diagonal means the seams will be less bulky and more sturdier.
I recommend using 10” strips or larger, but you could go as small as 6” and still sew a diagonal seam.
How to sew diagonal seams will be explained Step 5.

Fabric Grain:
For this scrappy binding we’re going to be cutting using the crosswise grain.
But you can choose an alternative to suit your project. Let me explain further.
Establish the fabric grain:
Now this can be tricky, as your scraps may not have the selvedge on.
But be assured, there is a way of working out the grain!
A Quick Guide to fabric grain and how to work out the grain for your scrappy fabrics is explained further on a separate page.
Why do I recommend a crosswise grain for scrappy binding?
Crosswise grain - Most economical use of fabric and easy to cut, sew and iron. There is some stretch in the fabric making it suitable for straight edges, mitred corners and slightly curved edges.
Bias binding - Cut on a 45 degree angle to the selvedge, this binding can be used on any quilt edge. It has the most flexible stretch, which makes it perfect for tightly curved edges (as the binding will not pucker). Bias binding is more time consuming to make. Also, when working with leftover fabric it might be difficult to find fabric scraps that allow you to cut on the bias.
Lengthwise grain - This is only recommended for quilts with perfectly straight edges. It’s definitely not suitable for binding any curved edges due to its lack of stretch. I would only recommend this if you’re want to use up every last scrap!
2. Calculate Your Fabric Requirements.
Normally at this stage you would calculate the total amount of fabric you require to make the binding.
But as we’re making a scrappy binding, we are only going to be calculating the binding length required.
This is because there’s no way of knowing exactly how much fabric you have when working with scraps! But if you have a substantial stash of fabric scraps you’ll have plenty of fabric to work with.
How to calculate the length of binding you require.
You’ll need to know:
The finished size of your quilt.

3. Press Your Fabric.
Now grab that pile of scraps! Give them a quick press with your iron.
This is particularly important if your scraps have been scrunched!
Your freshly pressed fabric will ensure better accuracy when cutting and sewing the strips.
4. Cut Your Strips.
Before cutting into you fabric, you’ll need to establish two things:
Decide on your binding width.
Establish the fabric grain (referring to guide as required).
Decide on your binding width.
This is a personal choice, but typically most people prefer a 2¼” or 2½” for a machine sewn binding. When folded in half this will yield a 1⅛ and 1¼” binding respectively.
A 2¼” binding will give you a slightly narrower binding which some quilters prefer.
I recommend a 2½” binding for beginners, especially if you’re going to attach the binding using your sewing machine.
For instance, I start by sewing my binding to the front of my quilt first with a ¼” seam; then fold over the binding overlapping by ⅛” and pin; and then finish off by stitching in the ditch along the binding edge from the front again. This gives me a ⅜” width binding on the front and a ½” binding on the back of the quilt.
Tip: Use your leftover 2½” Jelly Roll strips.
Establish the Fabric Grain.
Find the crosswise grain, referring to the guide.

Start cutting your strips.
Cut a WOF strip, cutting along the crosswise grain and using your preferred binding width (eg. my preferred binding width is 2½”, so I’ll cut my binding strips 2½”).
As you’re cutting, you can order strips randomly or make a curated order, so that you ensure an even spread (or mix) or colours throughout you binding.
Continue cutting your strips until you have enough lengths to make one continuous strip of binding for your quilt.
Keep a tally as you’re cutting the binding strips. This will let you know when you’ve cut enough strips.
5. Piece Your Strips.

How to piece your strips with a diagonal seam:
With right sides facing, place two strips forming a right angle.
Tip: Overlapping the fabric strips is only required if the selvedge is still present, allowing you to trim the selvedge off after trimming strips.
With a fabric marker, draw a diagonal line from corner to corner where the edges meet. Pin in place.
Sew on the marked line using shorter stitch length of 2, ensuring the strips are well aligned.
Trim off ¼” and any dog ears.
Continue this method until you have one continuous length of binding.
Press open seams to distribute bulk.
6. Press Strips in Half.

With wrong sides together, fold in half your binding and press the binding strips together.
I like to use a 1¼” Sasher to help me make binding without burning my fingers!
7. You're Finished!

Roll up the binding on itself and keep it for when you’re ready to use it.

Bind your quilt.
Bind your quilt using your preferred method.
This scrappy binding was entirely machine sewn on my Janome sewing machine.
Share your Scrappy Binding Projects: #LLBScrappyBinding
